
You’re planning a bathroom renovation and keep seeing those stunning seamless microcement finishes all over Pinterest. The grout-free aesthetic looks incredible, but you’re not sure if it’s actually practical for daily use or just another expensive trend. Understanding the microcement bathroom pros and cons matters because this isn’t a decision you can easily reverse once the material is installed and sealed.
This article breaks down eight critical factors you need to consider before committing to microcement in your bathroom. You’ll discover how it performs in wet conditions, what makes professional application essential, and where it genuinely outperforms traditional tiling. We’ll also cover the realistic costs and potential issues that installers won’t always mention upfront. By the end, you’ll know exactly whether microcement suits your specific project or if tiles remain the safer choice.
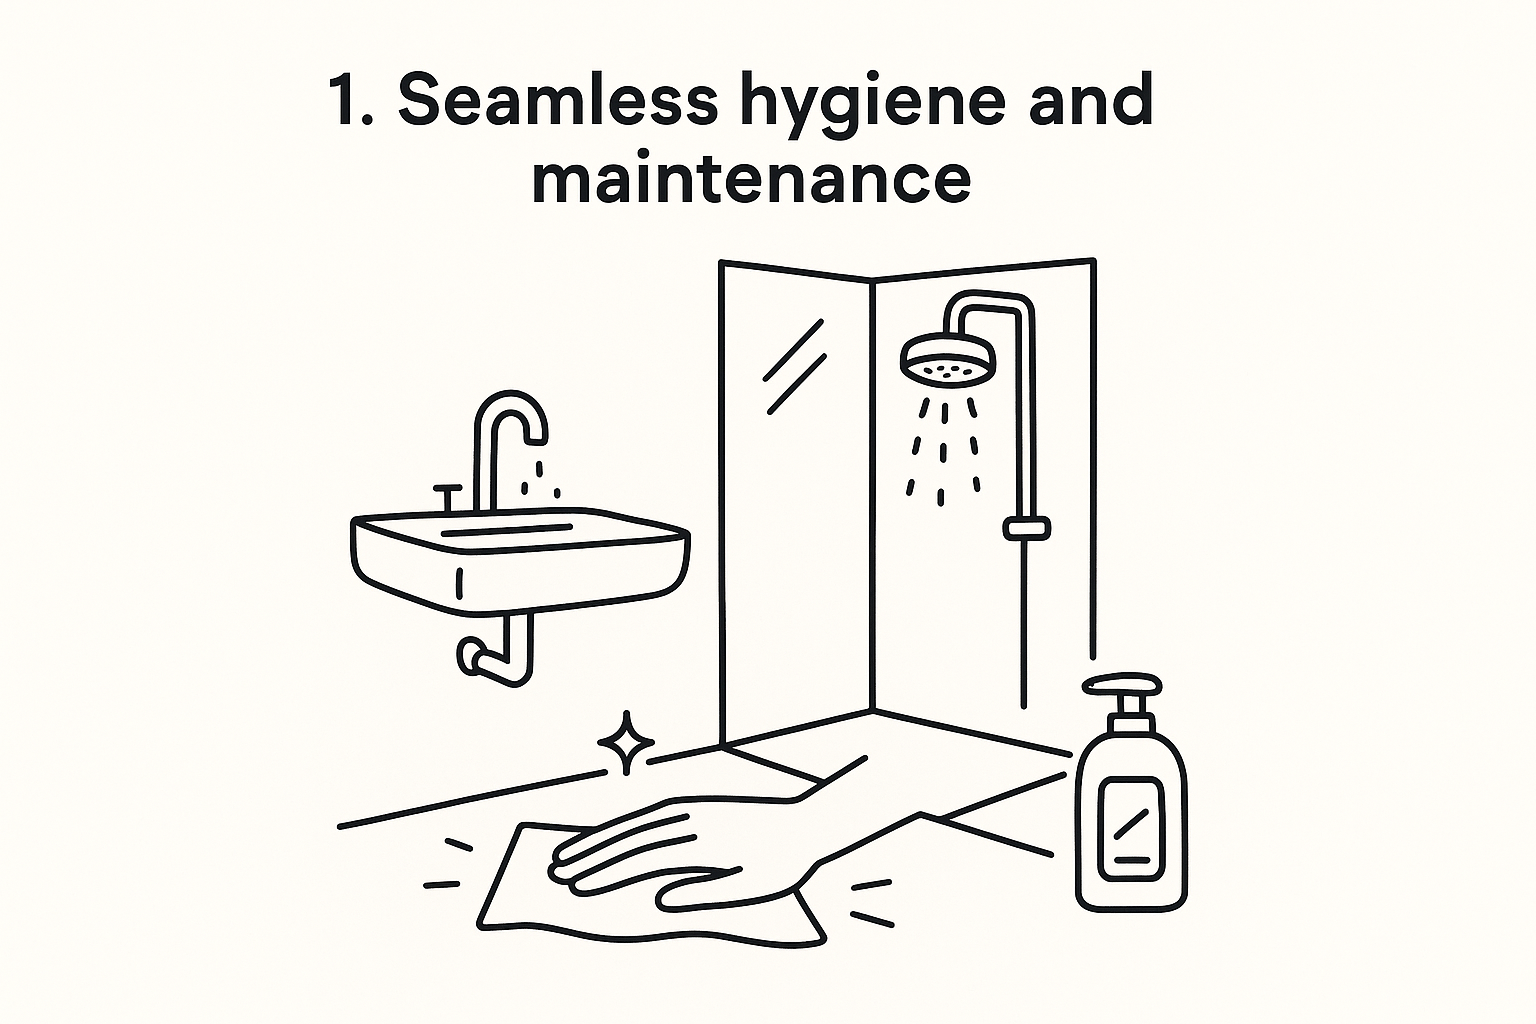
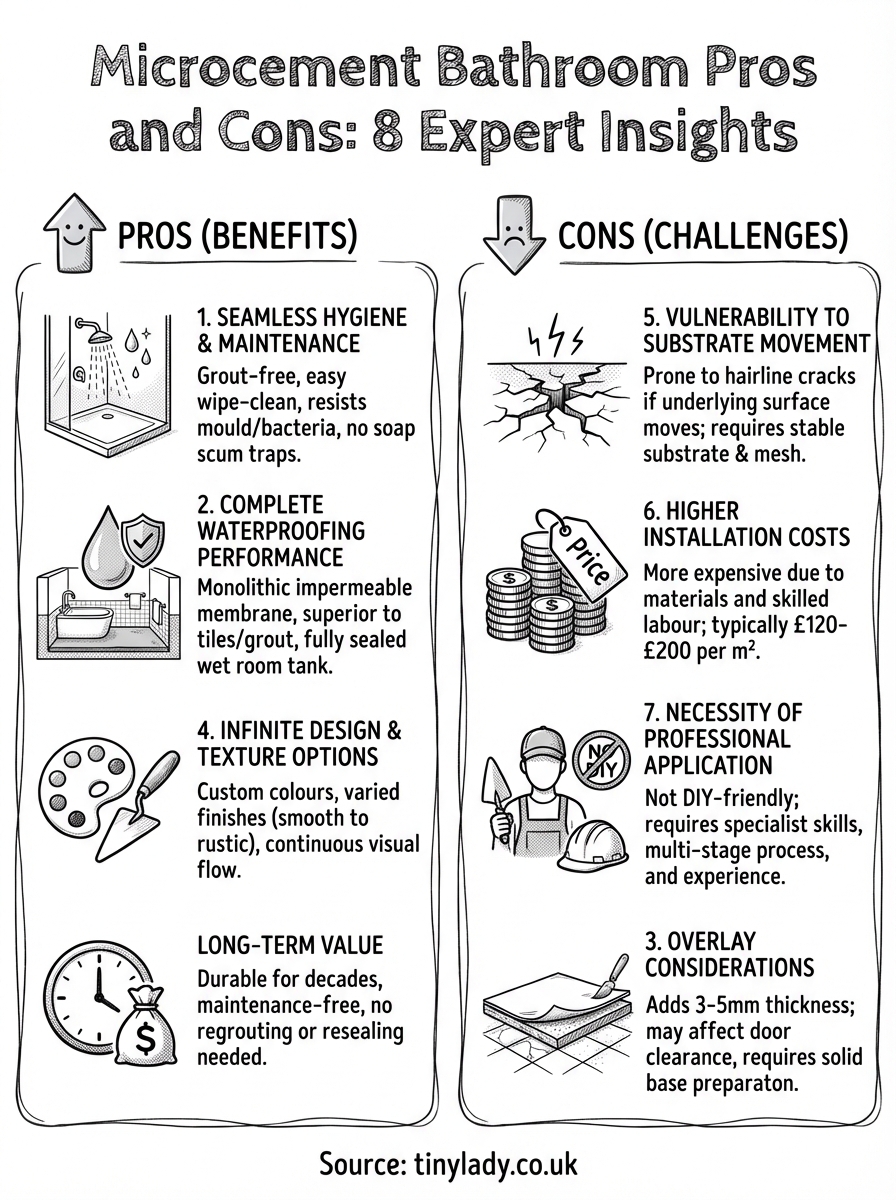
1. Seamless hygiene and maintenance
Your bathroom’s surfaces accumulate soap scum, limescale, and bacteria faster than any other room in your home. Traditional tiles create hundreds of metres of grout lines that act as permanent dirt traps, requiring aggressive scrubbing and regular regrouting to keep them looking presentable. Microcement eliminates this maintenance headache by delivering a completely smooth surface that you can wipe clean in seconds, making it one of the strongest microcement bathroom pros and cons to evaluate when planning your renovation.
The advantage of grout-free surfaces
Grout lines collect moisture, body oils, and cleaning product residue every single day you use your shower. Over time, these porous joints discolour from grey to brown and develop black mould spots that resist normal cleaning attempts. Microcement creates a continuous monolithic surface from floor to ceiling without any joints, which means there’s nowhere for dirt to accumulate or water to penetrate between tiles.
This seamless finish doesn’t just look cleaner; it actually is cleaner because you’re wiping a flat plane rather than navigating around thousands of recessed lines. You’ll spend far less time scrubbing and far more time enjoying a bathroom that maintains its showroom appearance with minimal effort.
Resistance to mould and bacteria buildup
Microcement resists mould growth because properly sealed surfaces don’t absorb moisture that fungi need to thrive. The polyurethane topcoats form an impermeable barrier that prevents water from seeping into the substrate, cutting off the damp conditions where black mould typically colonises bathroom corners and shower trays.
"A correctly installed microcement bathroom surface should shed water like glass, giving mould no opportunity to establish colonies in microscopic surface pores."
Bacteria also struggle to gain a foothold on these non-porous surfaces, unlike natural stone or unsealed concrete which harbour microbes in their textured cavities.
Recommended cleaning routine for longevity
You’ll maintain your microcement bathroom with nothing more than pH-neutral soap and warm water applied with a soft cloth or non-abrasive sponge. Avoid acidic cleaners like vinegar or limescale removers that can gradually degrade the protective sealer over time. For stubborn watermarks, a gentle cream cleanser works without scratching the surface.
Resealing typically becomes necessary every three to five years depending on usage intensity, but daily maintenance remains simpler than any tiled alternative you could install.
2. Complete waterproofing performance
Water leaking through your bathroom floor or seeping behind wall tiles causes structural damage that costs thousands to repair once you discover the rot underneath. Microcement delivers superior waterproofing performance compared to traditional tiled installations because the entire surface becomes a single impermeable membrane rather than hundreds of individual tiles held together by water-permeable grout. This characteristic positions waterproofing as one of the most significant microcement bathroom pros and cons to evaluate when you’re weighing durability against installation complexity.
Creating a fully sealed wet room tank
Your installer builds up microcement in multiple thin layers that bond directly to the prepared substrate, creating a flexible waterproof shell that wraps every surface like a second skin. This technique turns your entire bathroom into what professionals call a wet room tank, where water hitting any surface simply runs down to the drainage point without penetrating the substrate. The material’s flexibility allows it to accommodate minor structural movement without cracking the waterproof seal, unlike rigid ceramic tiles that can fracture and expose the membrane beneath.
Importance of high-quality polyurethane sealers
The final polyurethane topcoat determines whether your microcement surface truly repels water or gradually absorbs it over time. Professional-grade sealers create a chemical-resistant barrier that prevents water molecules from penetrating the cementitious layers below, maintaining the structural integrity of your installation for years. Cheap sealers degrade within months, turning your supposedly waterproof surface into a moisture-absorbent sponge.
"The sealer isn’t decoration; it’s the entire reason microcement keeps water out rather than soaking it up like unprotected concrete."
Why it outperforms porous stone or grout
Natural stone absorbs water through microscopic pores that eventually harbour mould and weaken the material’s structure. Grout remains permanently vulnerable to moisture infiltration no matter how carefully you seal it, because flexing substrates create hairline cracks that let water through. Microcement eliminates both vulnerabilities by delivering a non-porous surface with zero grout lines.
3. Ability to cover existing surfaces
Ripping out your existing bathroom tiles creates days of dust, noise, and debris that disrupts your entire household and risks damaging the substrate underneath. Microcement applies directly over most existing surfaces, turning what would normally be a demolition-heavy renovation into a cleaner overlay installation. This application method represents one of the most practical microcement bathroom pros and cons to consider when you’re working with tight budgets or living in the property during renovation.
Eliminating the need for noisy demolition
Your installer skips the jackhammer stage entirely by preparing your existing tiles with a bonding primer that creates mechanical adhesion between the old surface and new microcement layers. This approach saves you several days of construction time and eliminates the risk of accidentally breaking water pipes or electrical cables hidden behind walls. You’ll avoid paying skip hire fees for tonnes of broken tiles whilst keeping the structural integrity of your original installation intact.
How adhesion works on tiles and plaster
The primer penetrates surface pores and creates a chemical bridge that anchors the first microcement layer to glazed tiles, painted plaster, or sealed concrete. Professionals then apply a fibreglass mesh embedded in the base coat that distributes stress across the entire surface, preventing cracks from forming at tile joints underneath. This mesh-reinforced system bonds so effectively that the microcement becomes stronger than many substrates it covers.
"Proper surface preparation determines whether your microcement stays bonded for decades or delaminates within months."
Impact on floor levels and door clearance
Microcement adds approximately three to five millimetres of total thickness across your floor, which might prevent your bathroom door from opening if clearance was already tight. You’ll need to plane the door bottom or switch to a sliding mechanism when your installer builds up the surface layers and protective seals.
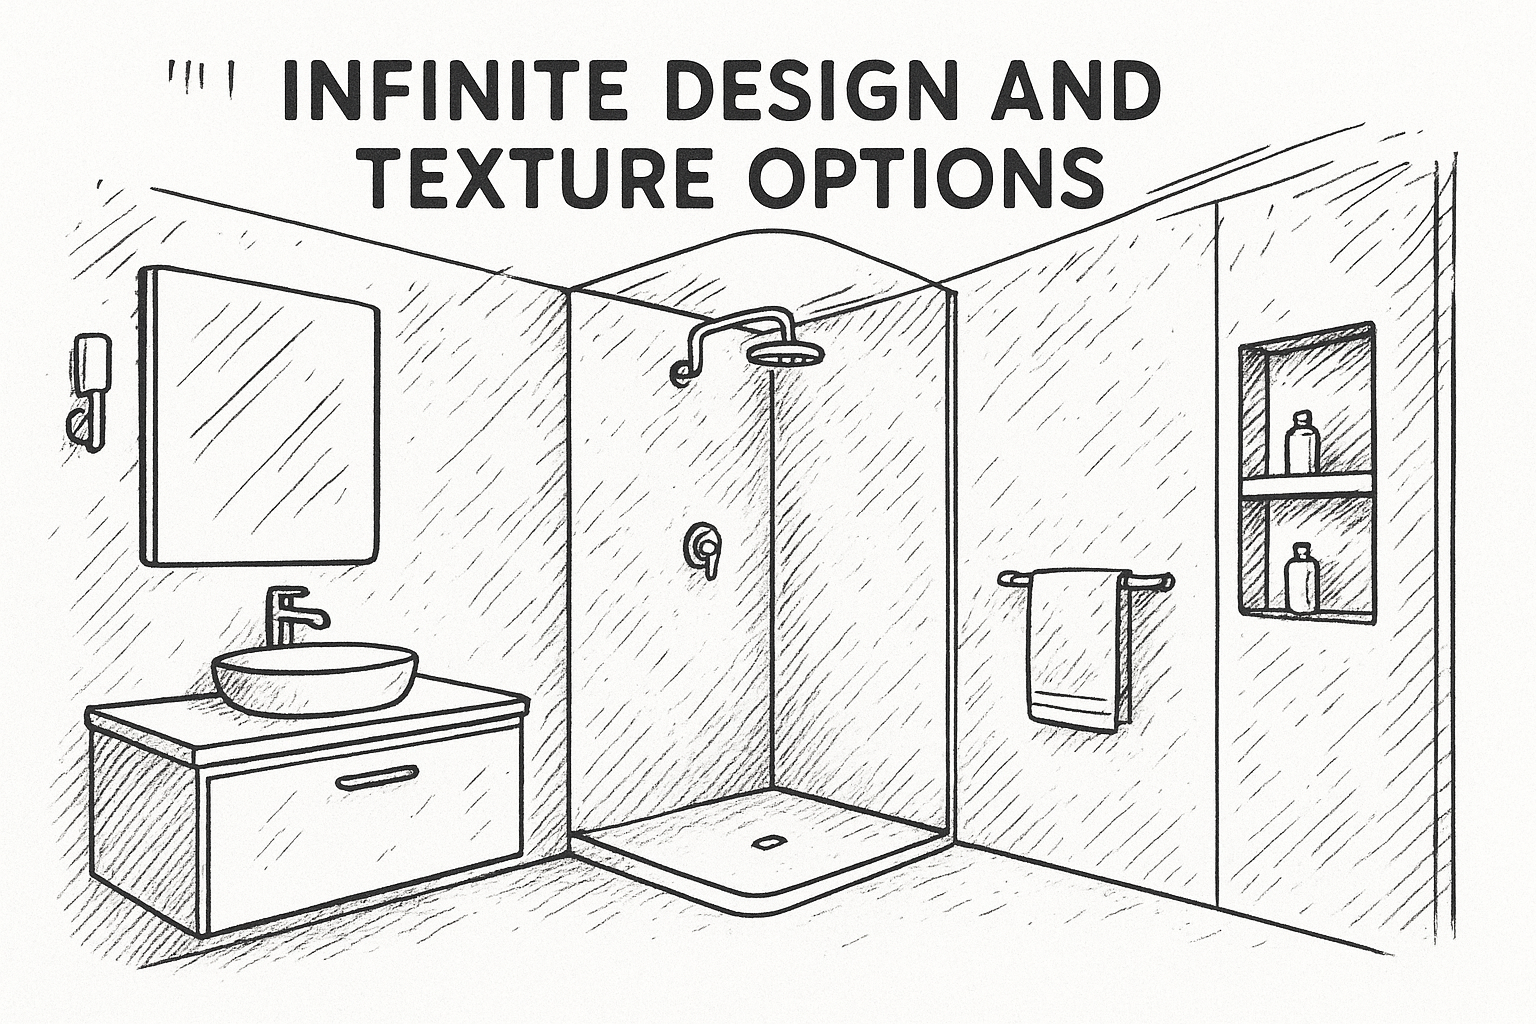
4. Infinite design and texture options
Your bathroom renovation shouldn’t force you to choose between a dozen standard tile colours and a handful of layout patterns that every other property already features. Microcement delivers unlimited customisation possibilities through pigment mixing, texture application techniques, and finish selections that let you create a genuinely unique space. This design flexibility stands out as one of the most appealing microcement bathroom pros and cons factors when you’re comparing it against the rigid aesthetic limitations of prefabricated tiles.
Customising colour and artisan finishes
You can specify any colour from the RAL or Pantone systems by having your installer mix custom pigments into the base microcement before application. This process creates bespoke shades that match your exact vision rather than forcing you to settle for whatever tiles the supplier stocks this season. Installers also vary their trowel techniques to produce smooth polished surfaces, subtle stone-like textures, or deliberately rustic finishes that carry authentic artisan character.
"The same material transforms completely depending on whether your applicator uses circular motions, straight strokes, or crosshatched patterns during the final smoothing stage."
Achieving visual continuity from wall to floor
Microcement flows seamlessly from your shower walls down across the floor without any visible joints or material transitions that interrupt the visual plane. This continuous surface makes small bathrooms appear significantly larger because your eye travels uninterrupted across the entire space. Traditional tiling always creates a horizontal grout line where wall meets floor, fragmenting the design.
Fitting complex shapes and architectural details
Your installer moulds microcement around curved shower screens, awkward pipe boxing, and recessed shelving that would require dozens of cut tiles and grout-filled edges. The material’s workability lets professionals create perfectly smooth radiused corners and integrated drainage channels that flow organically within your design rather than looking like added components.
5. Vulnerability to substrate movement
Your building’s structure constantly expands and contracts with temperature fluctuations and settling, creating microscopic movements that rigid surface finishes struggle to tolerate. Microcement bonds directly to your substrate without the expansion joints that protect traditional tiling, which means any structural flex transfers straight into the surface coating. This vulnerability marks one of the critical microcement bathroom pros and cons that distinguishes properly specified installations from premature failures within months of completion.
Why hairline cracks can occur
Your subfloor expands when heated and contracts when cooled, creating lateral stress that pulls microcement in opposite directions across its surface. Wooden joists beneath suspended floors flex under load every time someone walks across them, introducing vertical movement that microcement must accommodate without fracturing. These forces generate hairline cracks along stress points where the coating can’t stretch fast enough to match the substrate’s movement.
The critical role of fibreglass mesh
Professional installers embed alkali-resistant fibreglass mesh within the base coat layer to distribute stress across the entire surface rather than concentrating it at weak points. This reinforcement acts like rebar in concrete, allowing the microcement to flex slightly without cracking under normal structural movement. Skipping this mesh layer saves installers twenty minutes per square metre but guarantees crack formation within the first year.
"The mesh doesn’t prevent movement; it prevents movement from turning into visible damage."
Assessing if your subfloor is suitable
You need to verify that your substrate remains dimensionally stable before committing to microcement installation. Chipboard floors, thin screed over underfloor heating, and freshly plastered walls all move excessively and require stabilisation or alternative preparation methods that add significant cost to your project.
6. Higher installation costs
You’ll pay significantly more for microcement installation than standard ceramic tiling because the multi-stage application process demands specialist skills and premium materials that standard tilers don’t possess. Professional microcement contractors charge between £120 and £200 per square metre for bathroom installations, whilst basic tiling typically costs £40 to £80 per square metre with materials included. This price difference positions installation costs as one of the most substantial microcement bathroom pros and cons factors that determines whether the material fits your renovation budget.
Labour intensity compared to standard tiling
Your installer spends three to five days preparing surfaces, applying base coats, embedding mesh reinforcement, building up decorative layers, and sealing a standard bathroom that a tiler would complete in two days. Each microcement layer requires precise mixing ratios, controlled drying times, and meticulous smoothing techniques that can’t be rushed without compromising the final result. Tiling involves placing prefabricated units on adhesive, which requires far less technical skill and material knowledge.
Why cheap quotes often lead to failure
Contractors offering suspiciously low prices typically skip critical preparation stages, use inferior sealers, or lack proper training in microcement application techniques. These shortcuts produce installations that crack within months, absorb water, or delaminate from the substrate because essential steps were eliminated to meet unrealistic pricing.
"Paying half price for microcement usually means paying twice when you hire professionals to fix the resulting disaster."
Long-term value versus upfront investment
The higher initial cost spreads across twenty to thirty years of maintenance-free use without grout replacement, resealing natural stone, or retiling sections that crack under normal use. Your microcement surface maintains its appearance with basic cleaning rather than requiring the periodic deep restoration that tiled bathrooms demand every few years.
7. Necessity of professional application
Your enthusiasm for cost-saving DIY projects stops abruptly when you discover that microcement requires specialist equipment, technical knowledge, and years of practice to achieve results that won’t delaminate or crack within months. Home improvement stores don’t stock the correct materials, YouTube tutorials can’t teach you the tactile skills needed to judge consistency and smoothness, and your first attempt will permanently damage whatever surface you’re covering. This professional requirement represents one of the most restrictive microcement bathroom pros and cons considerations because it eliminates any possibility of reducing costs through self-installation.
Why this is not a DIY-friendly material
You can’t learn microcement application through weekend experimentation because the material sets too quickly to allow practice runs or corrections after you’ve started spreading each layer. Professional applicators develop their trowel technique across hundreds of installations, building muscle memory that controls pressure, angle, and speed to achieve uniform thickness without visible trowel marks. Your bathroom becomes the practice surface if you attempt this yourself, and microcement doesn’t sand smooth or tolerate patching like plaster does.
The complexity of the multi-layer process
Each installation stage depends on precise timing intervals between coats that vary with temperature, humidity, and substrate porosity in ways that only experience teaches you to judge accurately. Professionals know when the previous layer has cured enough to accept the next coat without delaminating but remains fresh enough to create proper adhesion between layers.
Risks of incorrect mixing and curing times
Adding too much water weakens the structural integrity permanently, whilst insufficient water prevents proper curing and leaves the surface chalky. Temperature fluctuations during the curing period cause premature sealer application to trap moisture that eventually bubbles and peels.
"Microcement forgives nothing; every mixing error and timing mistake becomes permanently visible in your finished surface."
Conclusion
Your decision about microcement depends on whether the seamless aesthetic and reduced maintenance justify the higher installation costs and professional requirement. The microcement bathroom pros and cons reveal a material that delivers exceptional waterproofing performance and eliminates grout-related hygiene problems, but demands expert application and won’t tolerate poor substrate preparation.
Budget-conscious renovators often choose tiles because the upfront cost feels more manageable, yet you’ll spend years scrubbing grout lines and dealing with mould growth that microcement prevents entirely. Professional installation costs more initially but delivers a durable surface that maintains its appearance for decades without the periodic maintenance that tiled bathrooms require.
If you’re planning a bathroom renovation in London and want to explore whether microcement suits your specific project, contact our team at Tiny Lady Interior for an honest assessment of your substrate conditions and a detailed specification that ensures long-term performance rather than premature failure.